Friday, March 15, 2013

Walter Lane's Biscuits


WALTER LANE’S BISCUITS                                     

Walter Lane was one of the subjects of a documentary film I made with Richard Searls, and this recipe is not unique, but Walter’s baking method was most unusual and resourceful. 
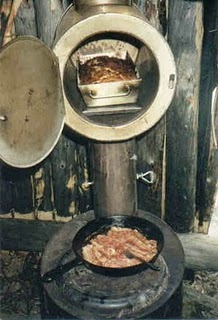
Walter Lane was always baking biscuits in a stovepipe contraption that he constructed above the oven in his trapper's shack. The stovepipe compartment, where the biscuits were placed to bake, captured waste heat from his woodstove. There was no way he'd allow heat to escape up the chimney without putting it to good use first. Walter was the ultimate recycler. 
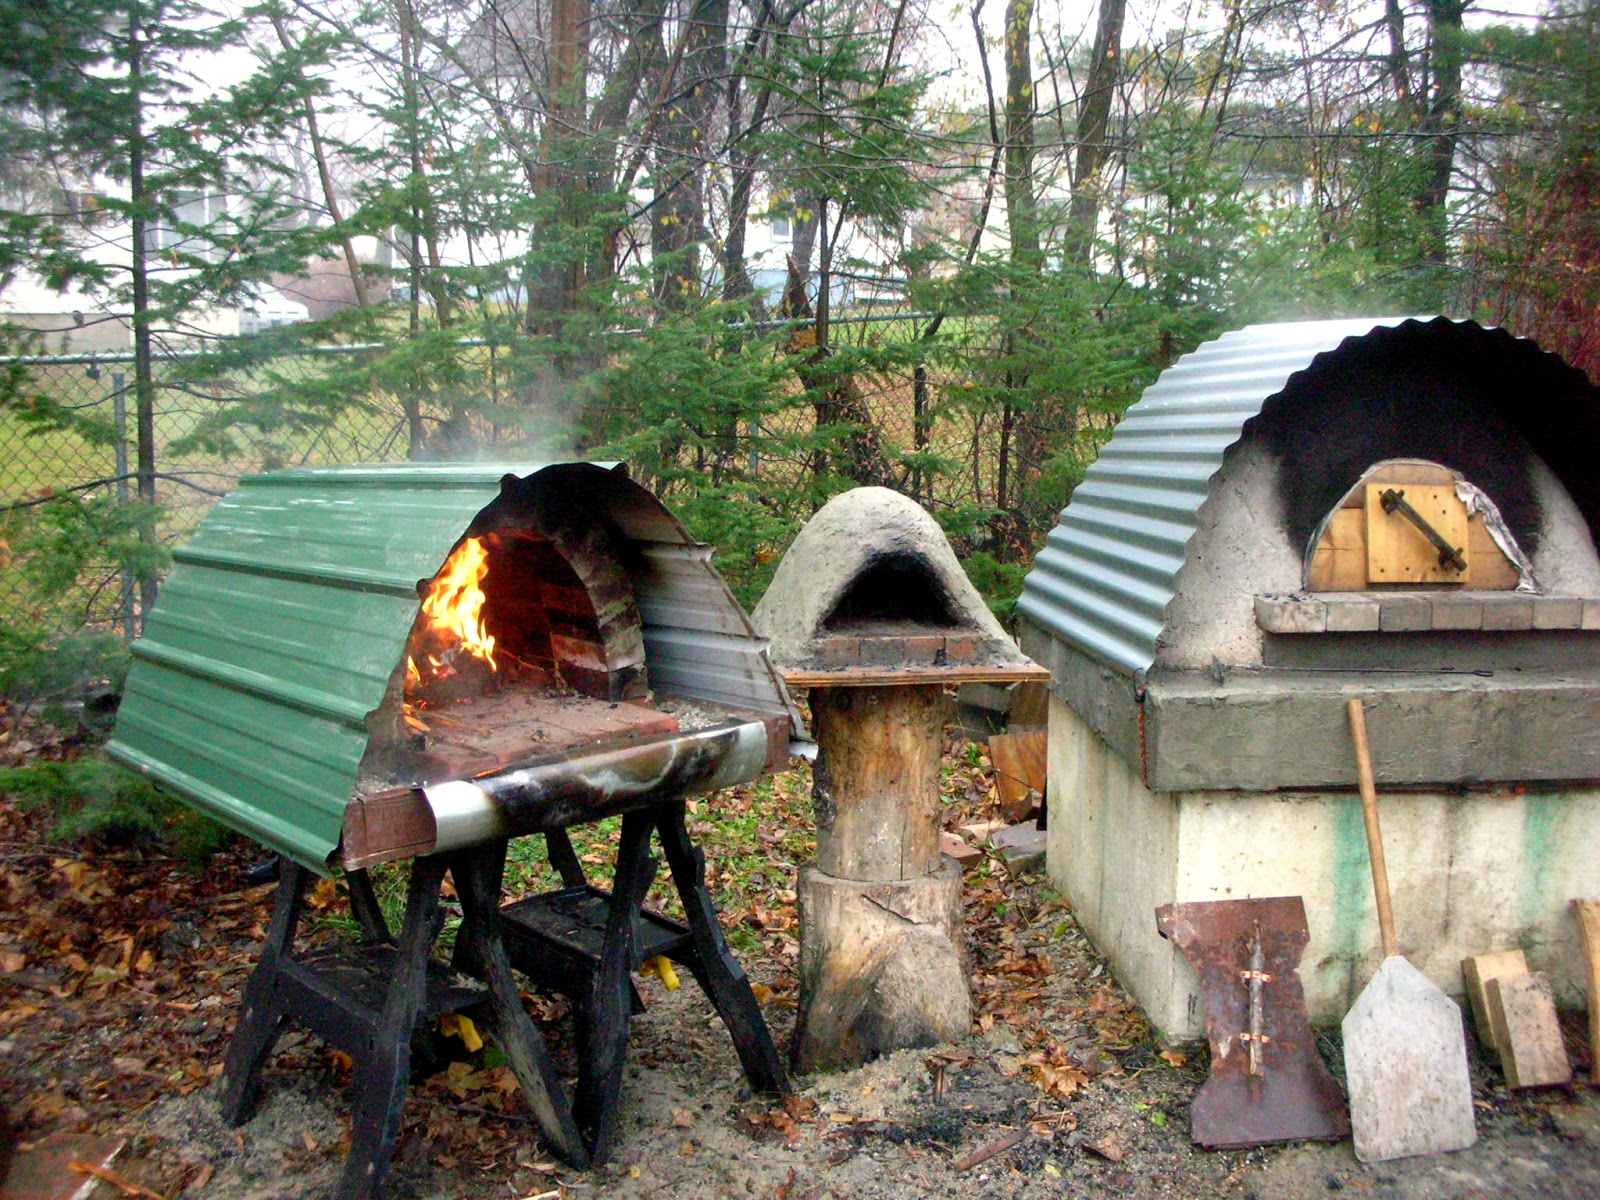
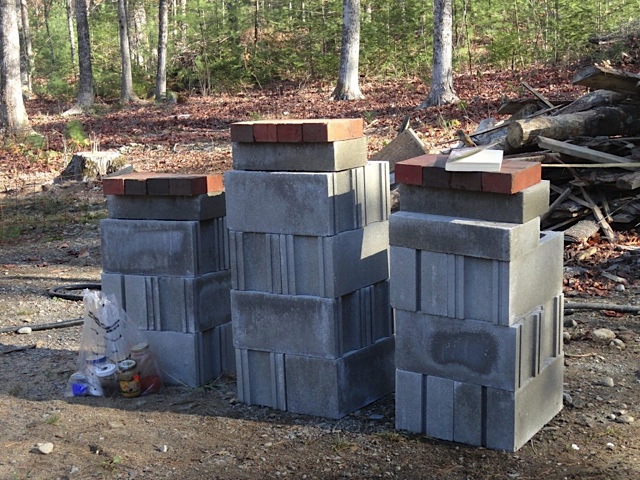
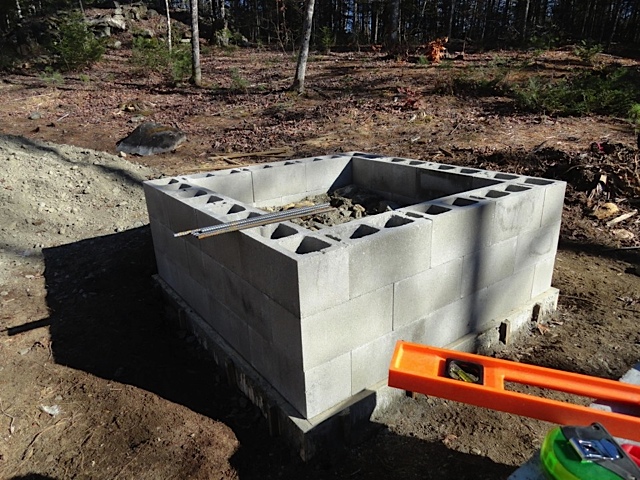
The pipe oven shown is quite a pricey affair, but Walt was able to fabricate something similar for just a few dollars.

YIELD: 6-8 biscuits
INGREDIENTS:                                                                                                                                 
2 teaspoons double-acting baking powder
2 cups all-purpose, unbleached white flour
1/2 teaspoon baking soda
1/2 teaspoon salt
1/2 cup cold butter (1stick)
1 cup (approx) buttermilk or regular milk

PROCEDURE:
Biscuits require a hot oven. Fire your oven well in advance; because once you blend your ingredients, you can bake immediately. There’s no waiting for anything to mature or rise.
In a medium-sized bowl, thoroughly blend the flour with the baking powder, baking soda and the salt. Now cut in the cold butter. This means placing small chunks of cold butter on the flour and working it into the flour with a pastry cutter, a fork, or your fingers. After the butter is carefully blended into the dry ingredients, stir in the milk. For biscuits, less stirring is better than more. The texture should be slightly gloppy. Add slightly more or less flour or milk to achieve the proper consistency.

Into a cast iron skillet, drop 1/4 cup scoops of your mixture. Slide the biscuits into the oven, keeping the fire to the back or sides. Move the skillet around to get the biscuits to bake evenly. Serve hot with butter and jam, and try not to think about your arteries. You can always leave the butter out of the ingredients, but they won’t be as good.
                                                                
                       Still image from the movie Dead River Rough Cut                                                     A biscuit lured this gorby bird (Canada jay) to Walt's hand.

Richard and I have been selling DVD's of Dead River Rough Cut for a number of years, but recently we've also allowed instant viewing of the movie from our website. Yes, this is a commercial, but if you decide to watch the movie, I don't think you'll be disappointed.
To watch a preview and view the movie, go here: www.deadriverroughcut.com


Tuesday, February 26, 2013

Workshops Added


 Earth Oven/Bread Baking Workshops

May 11, 2013
I've just added another workshop on May 18, 2013.
Both of these workshops will be held in Waterville, Maine.
July 25-26, 2013 at The Kneading Conference in Skowhegan, Maine


Sunday, February 17, 2013

Rethinking the Mini-Oven


My 32” diameter earth oven is really too big for just one or two loaves, and at this time, that’s all I really care to bake. Doing very many more would really take up took much kitchen space that I share. Someday perhaps, I’ll have a bakehouse.
Anyway, it’s difficult to get just one or two loaves to bake properly because there is not really enough steam produced by just one or two loaves to help create great crusts. Even using my large sprayer doesn’t help that much.
The breads that I bake indoors “undercover” are definitely much more aesthetically desirable. I think I’ll try to bake “undercover” in my earth oven and see how that works out.
The mini-oven is something I’ve only built in workshops for demonstration purposes, but perhaps I’ve underestimated it’s potential. Really, there is only room for a tiny pizza with the fire in back, but perhaps the mini-oven should be used to bake one or two loaves of bread. Baguettes might be just the thing because they don’t have much mass and should bake quickly.
I hope to try this out very soon.

Mini-oven sandwiched between two larger ovens.

Wednesday, February 13, 2013

Back From Guatemala

I've just returned from Guatemala where our group, Masons On A Mission, completed a record setting 41, energy efficient stoves for the Mayas. And that means improving the quality of life for 41 families by reducing air pollution in the home and also by reducing deforestation.
If you would like to get involved with Masons On A Mission, simply write the organization or send me an e-mail.


All photos courtesy of Masons On A Mission


Sunday, January 20, 2013

Why Italian Ovens are Round

If you decide to build a wood-fired oven, you'll have to decide if your oven will be round or rectangular. This post from the Forno Bravo website gives lots of reasons why your oven should be round. You may not agree, but there's some provocative reading here.

Round oven under construction on rectangular base.

Friday, January 4, 2013

Back To Guatemala

At the end on the month I'll be leaving once again for my yearly visit to Guatemala where I eagerly anticipate hooking up with old friends.
I go with the group Masons On A Mission (only a couple of us are masons, and I'm not one of them), and we build energy efficient stoves for the Mayas. Not only are the stoves very efficient, but they vent to the outdoors so that the Mayas will not be breathing suffocating smoke in their homes. Without these stoves, the Mayas prepare food on their three stone fires, indoors, resulting in many respiratory illnesses.


Saturday, December 8, 2012

Ring Of Fire

If you need just a little push over the edge, than this photo by Will Brinton should encourage you to build your own wood-fired oven and bake the best pizzas you've never had.

                                                        Will Brinton      

Thursday, December 6, 2012

Best Bialys


BIALYS (pronounced bee-ah-lees)
I’m not really sure where bialys originated, but my guess would be Poland because that country has a large city called Bialystok. Many Jews emigrated from Poland to America, and some of these émigrés had superb baking skills.
 On New York City’s Lower East Side, I know of a bakery that specializes in the production of Bialys; these are chewy rolls with flattened or concave centers into which chopped onion and poppy seeds have been mushed. To my knowledge and taste, this bakery in New York is the only place where authentic bialys are made. I’ve eaten bialys from other American cities, but they were really dismal breads. Your best chance for a good bialy will be in your kitchen after you learn how to make them.
The essence of a good bialy is its chewiness, and one way to produce chewiness is through the use of high gluten flour. In my book Bread In Time, I outline that technique. Another way to get a chewy texture is with sourdough starter, and I’m pretty sure the traditional bialy was made that way and not with high gluten flour. The baker can create sourdough, while high gluten flour is a specialty flour that most likely wasn’t even available when bialys were developed.
You may very well want to double the ingredients in this recipe, which of course, will double the yield. I make this suggestion because bialys are a special treat, and they’ll disappear quickly. Do not double the amount of starter you use. One quarter cup is enough. 

YIELD: approx. 12-3 1/2” diameter) bialys
Day one
Ingredients:
1 1/2 cups cool water 
1/4 cup sourdough starter 
1 1/2 teaspoons sea salt                                                                                                   
3 1/2 cups all purpose unbleached white flour

Procedure:
Combine all ingredients into a shaggy mixture using a heavy wooded spoon or a dough whisk. Cover the bowl with a plate and let proof overnight about 12-17 hours. Room temperature should be about 70ºF.
Day two
Ingredients:
Flour for dusting
1/2 cup chopped onions (use caramelized onions for the very best bialys)
1 tablespoon poppy seeds
1/2 teaspoon salt
Procedure:
Your dough should have expanded overnight, and now turn it out on your floured work surface. With floured hands, work the dough a bit by folding it in on itself into thirds. Do this several times, and then cover the dough with a cloth letting it rest about 15 minutes. After the rest period, flatten the dough by hand and then roll it out with a rolling pin to a uniform thickness of about 1/2”. 
Cut out the bialys. I use an empty 3 1/2” diameter juice can to punch out the bialys by bearing down firmly. If you prefer, you can cut the dough into 12 equal chunks, and with your hands, press each bialy into shape. Cover them again with a cloth and set them in a warm place to rest and rise for 30 minutes. While you’re waiting, chop the onions and get out the salt and the poppy seeds.
In the top center of each bialy deposit a pinch of chopped onions, some poppy seeds and a tiny bit of salt. With your fist, mush these ingredients into each bialy. Don’t be afraid to mush down hard. It’s important to really press the ingredients into the center of the bialy, and if the dough tears, don’t worry about it. If you’re not diligent about this, the center of your bialy will rise in the oven and you will have made a roll, not a bialy. That’s not exactly a bad thing to do, but it wasn’t part of your plan. 
Bake directly on the floor of your oven with a small fire to the back or side. Adjust your fire accordingly and move the bialys around to get them to bake evenly. 
Ideally the centers should still be flattened when the bialys emerge from the oven, but this will not always be the case. Don’t worry; they’ll still be delicious even if they rise like rolls.


Friday, November 23, 2012

Keeping it dry

If you stucco your oven with surface bonding cement you can expect your dome to stay "reasonably" dry. However, that's really not good enough. If your earthen dome should get wet, it really doesn't take much for it to revert back to its natural state, and that would be "mud."
For maximum protection, consider a roof, and it can be as primitive as the roof over the Siberian oven, but by far, the simplest roof I know how to make is to drape corrugated metal roofing over the dome and fasten the four corners with bungee cables tied into the oven base.


 Oven stuccoed with surface bonding cement

                                       
Simple roofing system

Easiest roofing system

Tuesday, November 13, 2012

Amanda's Oven

Following up on the last post, I want to add some photos just to give an idea as to how much work was required to complete the oven. It was truly a group effort, and had not everyone really put out, then the oven would not have turned out as well as it did.
Keeping organized and having all the supplies right on the building site when we needed them helped immensely.


Completed Oven

But to get here, check out some of the construction photos.


                                                                              photo Amanda Slamm                                     


                                                                                   photo Amanda Slamm 

                                    
                                                                                    photo Amanda Slamm