It has been my experience that to excel in just about anything, I have to take big chances. In reference to baking, I don’t accept anyone’s gospel on how to do something. For example, once I spent a lot of time on a bread recipe from the New York Times, only to discover that the proportions stated were not right, and important explanations were omitted. Only after putting the recipe aside and following my own instincts was I able to achieve what I was looking for. Be aware that It’s almost hopeless to measure flour accurately if you're scooping it. Either weigh it, or better still, let your experience dictate when enough is enough. It’s okay to use too much, and it’s okay to use not enough. The third time you’ll probably get it right. I need to take things to the limit and then beyond to really understand their properties. You really won’t know how much salt to use until you use too much or not enough. And how much sourdough starter do you need to leaven one loaf of bread? Is it ¼ cup, ½ cup or 1 cup? When building earth ovens should I use 1,2 or 3 parts sand to 1 part clay? I only really know, and then maybe, when I’ve experimented with lots of combinations and gone beyond accepted practices. I know I learn more from my failures than my successes. Of course, Bob Dylan had it right when he sang “there’s no success like failure and failure is no success at all.” Be outrageous at least some of the time. Well, maybe more of the time. Don’t search for a niche. Be all over the place. If I think I’ve “arrived,”Then what’s next? Now there is nowhere to go, and I’ve stopped developing. It is the lure of unexplored territory that harbors the most rewards for me.
Roy Feihel sent me this wonderful video of bread baking in Uzbekistan. The video clearly depicts baking in the traditional tandoor. The men do the physical baking while the women sit on the floor indoors preparing the dough. Note the electronic scale.
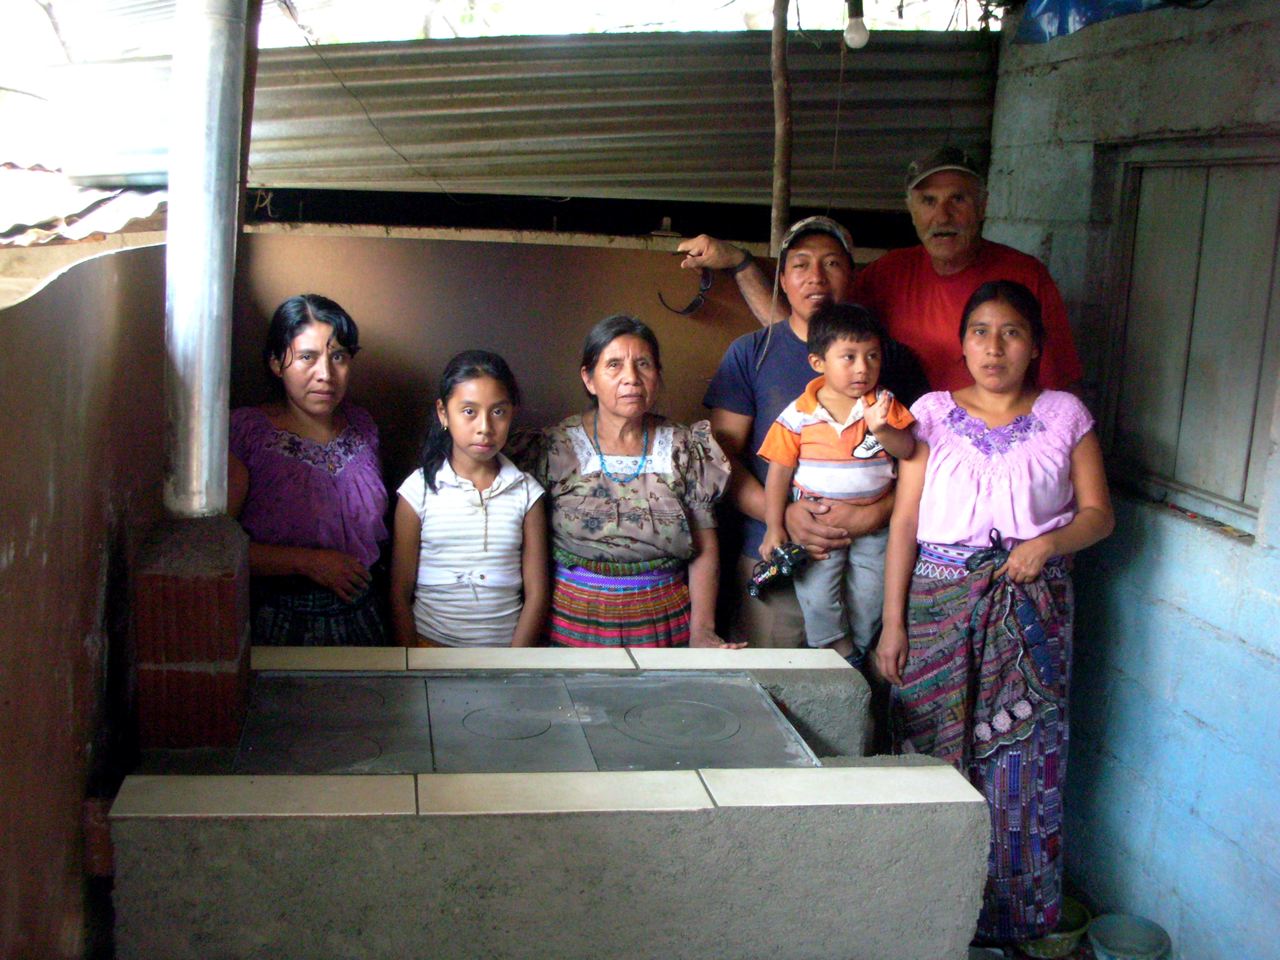
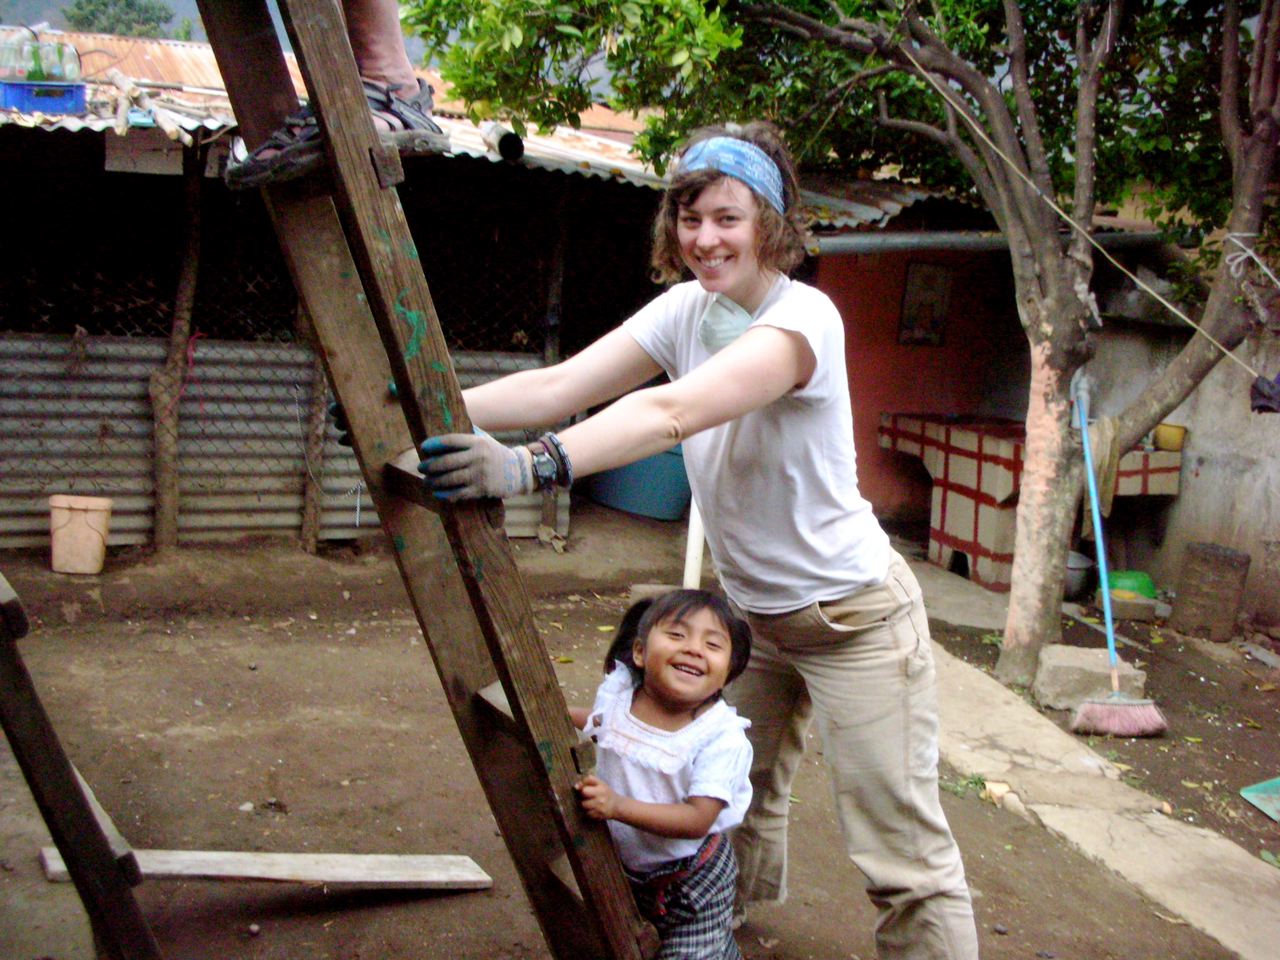
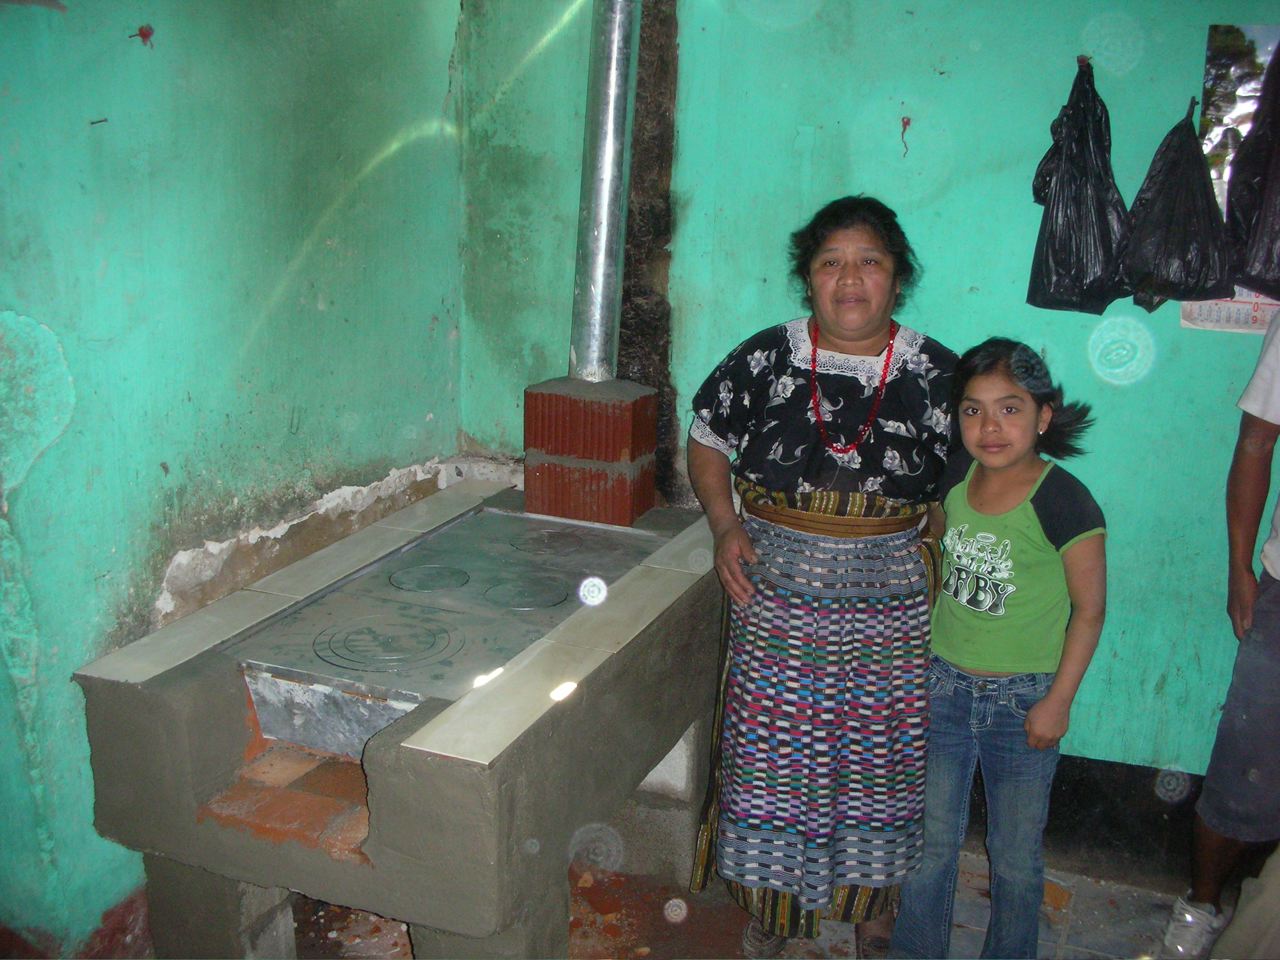
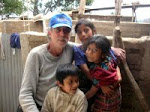
Masons On A Mission. That's the name of the organization I travel with each winter to build energy efficient stoves with the Mayas in Guatemala. Pat and Carol Manley are the directors.
The stoves we build improve the quality of life for the Mayas who are fortunate enough to have one.
By burning wood more efficiently than their three-stone fires, deforestation is reduced and since the new stoves are vented to the outdoors, the Mayas contract fewer respiratory illnesses.
Each stove that we build costs $150.00 in materials. All of the labor is donated, and we need to fund raise all year.
If you would like to make a contribution, it will be most appreciated. Whether it's $5.00 or $5,000, I will guarantee that your contribution will be used for materials only. Your contribution is tax deductible. Please let me know if you make a contribution so I can personally thank you.
For a lot of us today in the northeast, today is the day to make this bread.
New York Times
SNOW BREAD
Of all the breads I’ve made, snow bread really requires more feel than science. The nature of snow necessitates an artful approach. A cup of water is a cup of water, and a cup of snow is a cup of snow, but really, what kind of snow are we talking about? Is it old, new, dry, or is it wet? And how do we get the snow into a cup? Do we press and pack, or sift and blow?
From Scientific American 1879
Somebody thinks he has discovered that snow, when incorporated with dough, performs the same office as baking powder or yeast. "I have this morning for breakfast," says a writer in the English Mechanic, "partaken of a snow-raised bread cake, made last evening as follows: The cake when baked weighed about three quarters of a pound. A large tablespoonful of fine, dry, clean snow was intimately stirred with a spoon into the dry flour, and to this was added a tablespoonful of caraways and a little butter and salt. Then sufficient cold water was added to make the dough of the proper usual consistence (simply stirred with the spoon, not kneaded by the warm hands), and it was immediately put into a quick oven and baked three quarters of an hour. It turned out both light and palatable. The reason," adds the writer, "appears to be this: the light mass of interlaced snow crystals hold imprisoned a large quantity of condensed atmospheric air, which, when the snow is warmed by thawing very rapidly in the dough, expands enormously and acts the part of the carbonic acid gas in either baking powder or yeast. I take the precise action to be, then, not due in any way to the snow itself, but simply to the expansion of the fixed air lodged between the interstices of the snow crystals by application of heat. This theory, if carefully followed out, may perchance give a clew to a simple and perfectly innocuous method of raising bread and pastry." And stop the discussion as to whether alum in baking powders is deleterious to health or otherwise.
After I first heard about snow bread, I couldn’t wait to try it, but I didn’t have any guidelines and there wasn’t any snow. However, I was intrigued by the idea that I could use snow as a leavening agent.
Finally it snowed. Then, by chance, I was looking through a Girl Scout Manual and noticed a corn bread recipe made with snow. Going against my best judgment, I decided to follow the recipe. The recipe was so far off I’ll probably never look through the manual again. But in fairness I had to ask myself if the recipe really was off, or if my snow was a lot different than the snow the girl scouts used. I think the answer is yes to both questions.
I finally was able to make a satisfactory snow bread, and with real maple syrup poured over a slice we have something very American indeed. Make this bread with kids.
On a snowy day, into your cold bowl, add the flour and cornmeal that you have kept in the freezer. Stir in the salt.
Dash outside, stuff about 6 cups of ultra-clean snow into the bowl. Too much snow is better than not enough. Using a large spoon, thoroughly mix the ingredients with the snow. Work quickly. You are trying to suspend everything in the fresh snow, which replaces the leavening agent.
Oil an 8” iron skillet and dump the mixture into it. The snow and ingredients will probably come up high on the skillet sides, but by the time it all melts down and bakes, your corn bread may be very small indeed.
Bake in your wood-fired oven with high heat because everything needs to happen quickly. You may allow the fire to burn because the corn bread will be protected by the iron sides of the skillet. When it looks done, plunge a fork into the center. If it comes out clean, it’s done, No, I won’t even try to tell you how long to bake the bread for, but don’t over-bake the corn bread unless you want only the pigeons to appreciate it.
Although potentially heavy as lead and tough as 16-penny nails, this bread is addictively delicious to eat, though not particularly easy to make. Schumann rye should be eaten after it has thoroughly cooled. Slice it thinly, and consider wearing gloves to protect your hands if you have a lot of slicing to do. Store your loaf at room temperature in a paper bag, and it will keep for days. Those who acquire a taste for sour rye often consider it their favorite bread, although it will, without doubt, precipitate tired jaw syndrome (TJS).
YIELD: 2 small round loaves
DAY 1
Ingredients:
2 cups warm water 105-115° F
2 cups rye flour
Peter Schumann at the sourdough trough
In a medium-sized mixing bowl, thoroughly stir the rye flour into the warm water. Cover the bowl with a plate, and leave in a warm place (70-80ºF). The souring process should be under way. Give it a stir everyday.
Approximately 3 days later you need:
2 teaspoons salt
1 1/4cups rye flour
After about 3 days the rye mixture should have a sour aroma, and it should be bubbling. It might take only 2 days or it could take as long as 5 days. Room temperature determines the length of time necessary. The warmer the environment, the more quickly the rye will sour. If mold forms on the top, as it has on mine, Peter says not to worry about. I did worry about it, but scraped the mold off as he said to, and I’m still healthy.
When the rye has reached the level of sourness that seems right to you (trust your instincts here), stir in the salt and about 1 1/4 cups of rye flour. The amount of flour can vary considerably with this recipe, but this shouldn’t daunt you because you are by now well aware of the many variables in bread baking. The rye mixture should be quite dense. Cover and let ferment overnight.
The next day, turn out the dough on a heavily floured surface. Expect the dough to remain sticky. It’s rye we’re working with. Divide the dough in two, fold and place on your floured peel. The dough should not be taller than 1” or it might burn before it bakes through. You’ve fired your oven, removed the ashes and cleaned the floor. Bake in a medium oven until done. Slice thinly and dip in extra virgin olive oil in which you’ve crushed some fresh garlic.
If any of you bread bakers or oven builders have images or words to share, email them to me, and I might put them up on the blog.
Many years after making the movie Dead River Rough Cut with Richard Searls,
I made a pilgrimage back to the area where we did the filming. Getting to the area where we spent a great deal of time with the two woodsmen who were featured in the movie was not such a simple matter. The whole landscape had changed. There were new logging roads, and the remnants of the WWII prisoner of war camp had finally moldered into the forest. I had returned to marvel at the wood-fired bake oven that the Germans had built while they were interred deep in the Maine woods. The irony of my visit was that when I arrived, two bear hunters were unloading Wonder Bread from their pickup truck to bait bear. This was right next to the oven. I know I've shown this photo before, but since the oven is so beautiful and the setting so filled with memories, I wanted to share it with those of you who have not seen it.
With determination, it's quite possible to build a wood-fired oven in the northeast, in the winter.
Construct a tent over the work-site, and there's no need to wait until spring.
When placing firebricks on your concrete slab, you're really looking for intimate contact between the bricks and the slab for maximum heat transference, and that means a hotter floor. Here's how Pat Manley puts it "Firebrick laid dry on the sub hearth is fine if everything is perfectly flat, so that there is total contact for perfect heat transfer. But, that is not usually the case. I use a thin paste of pure clay to assure 100% heat transfer to and from the sub hearth."
I haven't done this yet, but on my next oven I will.
You really can't trust surface bonding cement to completely protect your oven from the elements. If you cover your dome with sbc, then be sure you have a brick arch at the opening. Without the brick arch, water will find its way in through the opening and weaken or destroy your mud arch. Look at the pile of mud on the floor of this mini-oven. A heavy rain was the culprit.
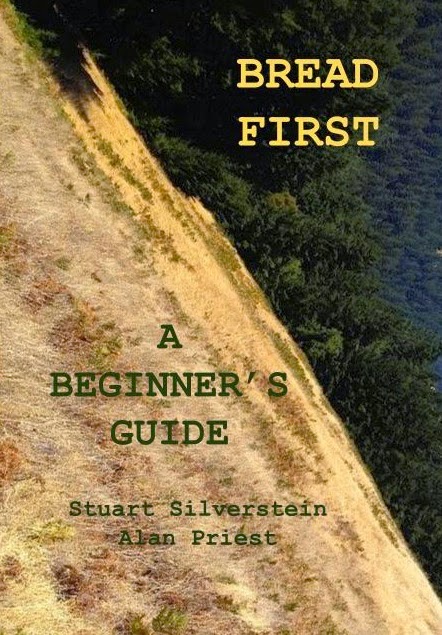
Bread First is a book for beginners. Everything a beginner needs to know can be found here. You can expect to bake great bread the first time. The process is simple, and the ingredients are readily available. "No knead" baking is for everyone. No experience is required. Clear instructions with photos make everything extra easy.
Bread Earth And Fire: Earth Ovens And Artisan Breads
For the past couple of years I've been revising my book, Bread Earth And Fire. I've added the subtitle Earth Ovens And Artisan Breads because I feel this more fully explains what the book is about. Along with the photos, you'll now find drawings that better illustrate the oven building process, new ovens to build as well a history of bread from the "beginning of time."
Bread Earth And Fire: Earth Ovens And Artisan Breads is available as an ebook or print copy from Lulu.
Amazon's Createspace carries a print copy of the book.
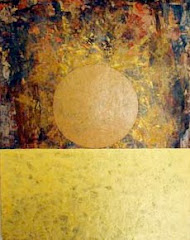
Stu's Art Gallery
Dead River Rough Cut (the movie)
Walt feeds gorby bird. Most requested movie at the Maine State Prison
Dead River Rough Cut
For information about Stu Silverstein's and Richard Searls' backwoods movie, go to: www.deadriverroughcut.com.
I write about bread and wood-fired bread ovens. Sourdough bread baking is my specialty. While the dough is rising I have time to make art, lots of art. Each winter I travel to Guatemala to build energy efficient stoves for the Mayas.