Friday, May 21, 2010
Oven Australia


from Bread Earth and Fire (The Earth Oven)
con't The Earth Oven
 You’ll probably find some coarse gravel at the top of the slab, but if you wait just a little bit until it starts to set up, you should be able to trowel it fairly smooth. Don’t worry if it’s not perfect, ours wasn’t and it didn’t matter because the rocks we used for the base were all irregular, and these sat on top of the slab. After your slab gets hard (concrete dries fast in hot weather), and it might only take a couple of hours, you should hose the top of it because you don’t want the top to dry very much faster than the interior. Instead of hosing the slab, you could cover it with a tarp to slow down the drying process. No matter what you do, the next day you should be able to knock off the wooden form and start building up.

Thursday, May 20, 2010
from Bread Earth and Fire (The Earth Oven)
THE EARTH OVEN
When you’re done filling the hole with gravel, tamp it down by jumping on it or pounding it with a heavy object. Get is as level as possible, and this is where a four foot level proves very useful.
to be continued
--
When you’re done filling the hole with gravel, tamp it down by jumping on it or pounding it with a heavy object. Get is as level as possible, and this is where a four foot level proves very useful.
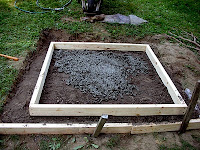
It’s time to build the form that will contain the wet concrete. The interior measurement should be 48 X 48 inches. You might say, as I have, “Oh, I just need to buy two - 2 X 4 X 8’s. “Sorry, it won’t work. To make your form, the 2 X 4’s need to overlap. So this is what you need: two pieces 48 inches. 2 pieces 51 inches. Use one-2 X 4 X 8 and one-2 X 4 X 10.
Measuring the diagonals
Let’s mix up the concrete now. By the way, folks often use the terms cement and concrete interchangeably, but they are different compositions. Cement is a building material that is a powder, made by burning a mixture of shale or clay. It is used with water, sand or gravel to make concrete and mortar. Assuming you’ve purchased bags of ready mix concrete, you’ll only need to add water. Yes, it’s possible to buy Portland cement and mix this with the right proportions of sand and gravel, add water, and you’ll have concrete. For a small job, it’s simply easier to buy the ready mix, and that’s what Abbott and Nancy did. This is not a project to do in freezing weather. Concrete will not set up properly unless specially treated.
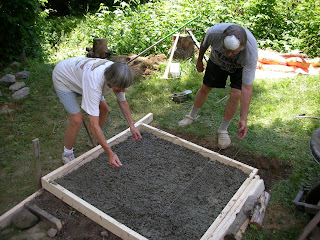
Assuming you have a large wheelbarrow, dump in a full bag of concrete mix. Cut the paper off the bag after it’s in the wheelbarrow. Don’t breath concrete dust, perlite dust, or clay dust. In fact, try not to breath dust. Wear a dust mask if necessary. On the bag of concrete mix it will tell you how much water to add, but we didn’t go by this. With the garden hose we added a small amount of water at a time, always using our hoes to make a homogeneous mixture. Too much water makes for a weaker mixture. Not enough water makes it hard to pour. If you’re not sure about how much water to add, then go by the instructions on the bag. Fill your wooden form about half way up, making certain that the concrete is flush against the form with no air pockets, and then place the remesh on the concrete.
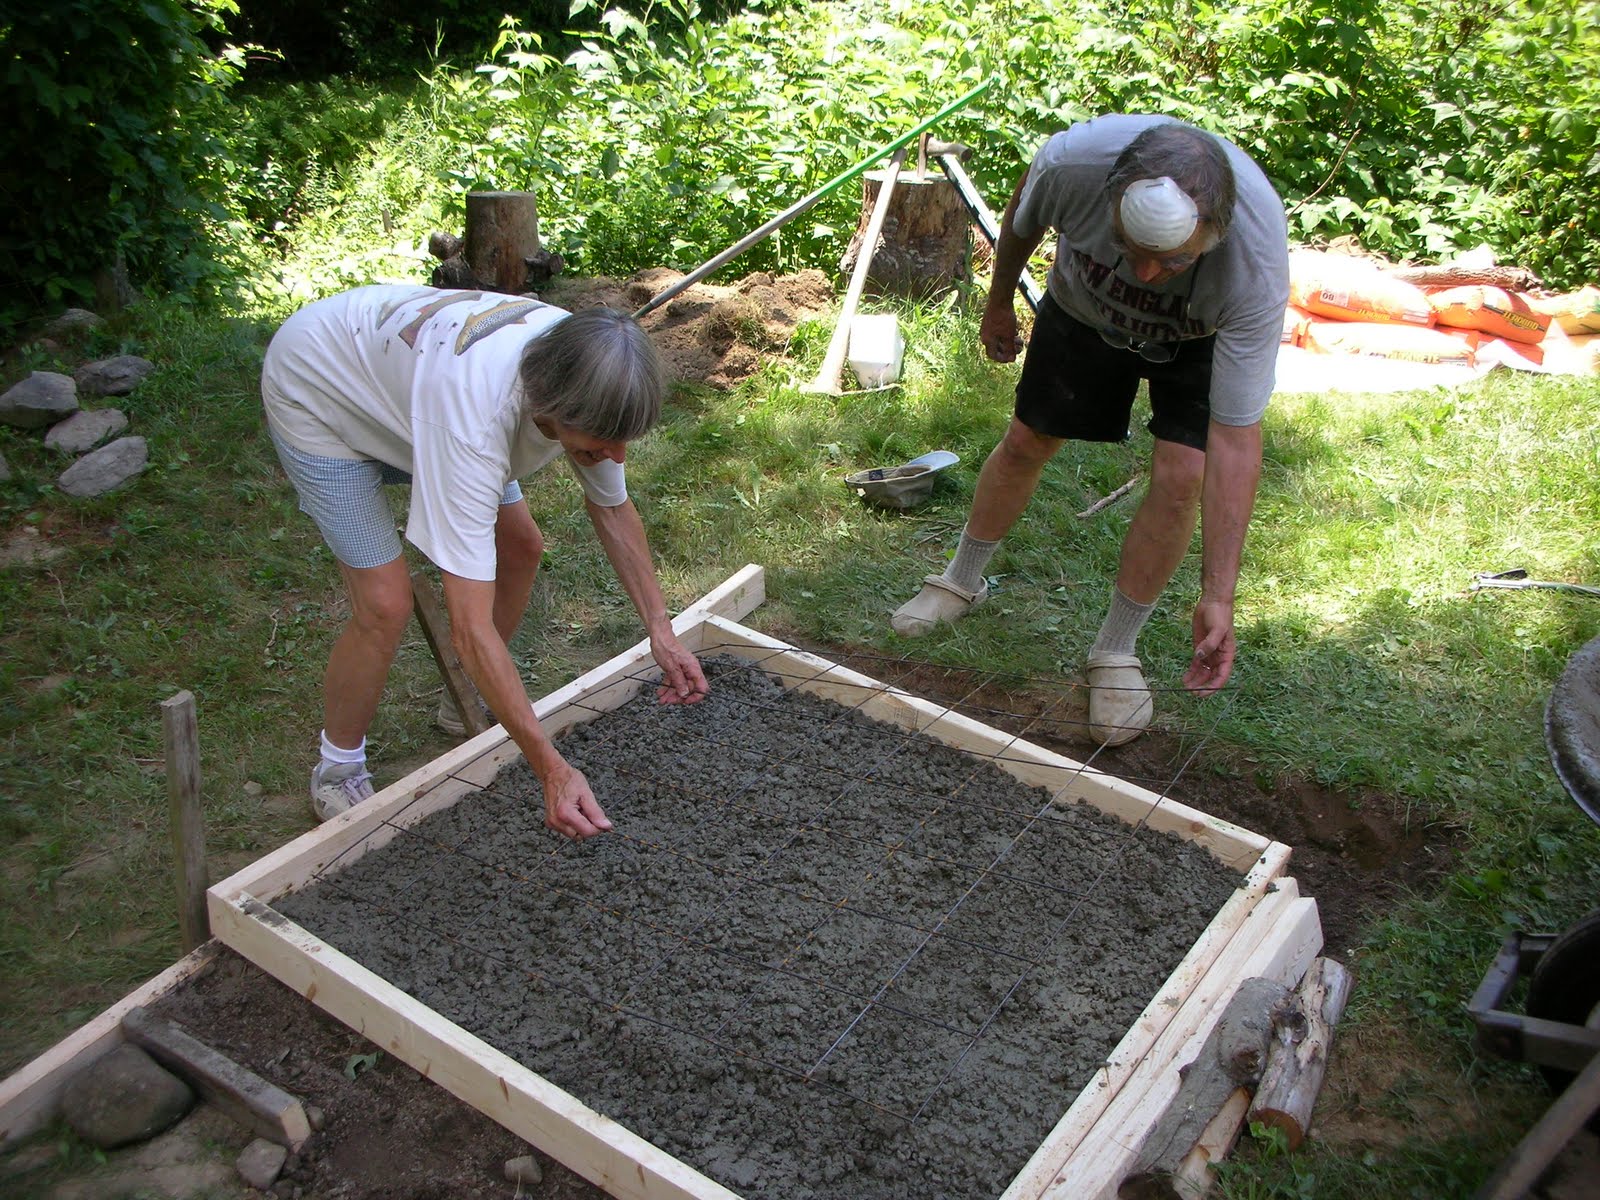
Laying Remesh
You can easily bend and fold the remesh so it will fit inside the form. It provides strength to the concrete. You don’t want the remesh on the bottom of the concrete slab, and you don’t want it sticking up through the top. If it’s on the bottom or top, it will add no strength to the slab. Position it so that it remains in the middle of the slab.
Now continue filling the form with concrete until it’s slightly higher than the top of the form. As you pour, jab into the concrete so you won’t have any voids in the slab. Don’t fill half the form, break for lunch, then come back to finish the slab. Depending on the weather it could set up very fast. Your slab will be better if you finish the job without taking a break.
Rinse off your tools because the concrete will harden on them, well, like concrete, and it will be extremely difficult to remove. Fill up a plastic pail with water, and leave your tools in it. Be sure to thoroughly rinse off your wheelbarrow.
--
Wednesday, May 19, 2010
Purchased Clay

mixing clay
Recently I have completed an earth oven that was made with clay purchased from a pottery supply store. The clay was extremely easy to work with. We mixed it with a hoe, one part clay with three parts sand in a wheel barrow and it was much, much easier that stomping the clay to smithereens with one's feet. The cost of the clay was minimal ($30.00) and the consistency was excellent. Building a circular oven with a 31" floor diameter, 15" dome height, 4" thick walls, we used about 125 pounds of clay. The type of clay we used was fireclay (Hawthorne 40 mesh). If you happen to live in Maine, you can buy it in Portland. However, with kids present, you might want them to do the barefoot-in-the-mud dance.
stomping clay
Tuesday, May 18, 2010
from Bread Earth and Fire
THE EARTH OVEN con't
 Assuming you don’t have to buy any tools for the job, the cost of materials is relatively small considering what you’ll be getting. Abbott and Nancy spent about $250.00 on materials. Labor was free.
to be continued

to be continued
Monday, May 17, 2010
Name Change
I just changed the name of this blog to:
http://ibreadhunter.blogspot.com/
I thought it would be easier for me to remember.
Stu
http://ibreadhunter.blogspot.com/
I thought it would be easier for me to remember.
Stu
Sunday, May 16, 2010
Mud and Foil

successively layers of overlapping foil being applied
Here's a photo of an oven I worked on this past weekend. The baker does not want a cover over the oven, and this presents a real problem in protecting it from the elements. An unprotected mud oven in the northeast might disintegrate rather quickly so we decided to wrap the mud dome with aluminum foil. Any water that got to the foil would theoretically just drain down the side. Perhaps over the insulation we'll wrap the oven with another layer of foil become applying the stucco. There are some who say an oven needs to "breath," but after a mud oven has been fired to 1,000 degrees F., the dome becomes rock hard and the ability to breath seems to be a moot point.There will definitely be an update on this oven.
Saturday, May 15, 2010
from Bread Earth and Fire (The Earth Oven)

baking in the rain
The Earth Oven (con't)
Let’s assume the oven you’re going to construct will be for home use, and you are definitely not going to operate a bakery. If you construct a very large oven, it will be a waste of space, materials, and use too much firewood to heat up. A large oven will also take longer to build and contribute unnecessarily to global degradation. You won’t need the Taj Mahal of ovens. However, an oven that’s too small will be difficult to maneuver pizzas and breads. The Meaders decided on a circular oven with a 22.5-inch floor diameter.For the purposes of this book, when I refer to the floor, hearth or deck, I am referring to the same place. It is there where your breads sit to bake.
We felt this would be a good size for pizzas as well as breads, but I don’t think you should build anything smaller than this. An oven this size will easily bake four loaves of bread or one or two pizzas at a time, although I personally like baking one pizza at a time. Baking pizzas and breads are always done separately. A pizza should take less than three minutes to cook, and with some help, you can crank out enough pizzas so your garden party of twenty folks will have no reason to complain.
Now we were ready to come up with a supply list, but when you do your oven, it’s not necessary to have all the materials on hand, although it does help.
You can buy most of the materials you’ll need at Big Box, but they won’t have clay, perlite, firebricks, straw, and sawdust. The firebricks are easily found at a masonry supply store. The Perlite and straw you will find at a garden supply store, and the sawdust you can get free from someone who does woodworking. You might find Perlite at big box, but if you do, it will probably be packaged in small bags, and it will be very expensive. It will be much more economical to buy Perlite in large bags. Vermiculite is a similar insulator, and if you can’t find Perlite, than use vermiculite; they are quite similar. Clay can be dug for free if you know where to look, or it can be purchased from a pottery supply store...
Wednesday, May 12, 2010
from Bread Earth and Fire (The Earth Oven)
The Earth Oven
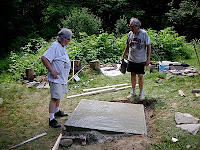
Abbott, aged 72 is an artist, 16 mm filmmaker and art professor. Nancy, aged 70 is a potter and French teacher. Working with them was a rewarding experience for me. They really are living proof that numbers don’t add up to anything. Senior citizens? What’s that? None around here. And there were no testosterone-charged young men to move 80 pound bags of concrete mix (although that would have helped), nor did anyone help them get the rocks up the hill to the building site. They did it all themselves with just a little help from me, and they celebrated their 50th wedding anniversary in 2008.
That said, to really cover all your bases, I think it would be a good idea to get some advice from a local masonry contractor. Simply visit a masonry supply store and inquire. From my experience, folks really want to help out. Have a photo of the type of oven you’re planning to build so the person you’re talking to can relate it to your project.

Abbott, aged 72 is an artist, 16 mm filmmaker and art professor. Nancy, aged 70 is a potter and French teacher. Working with them was a rewarding experience for me. They really are living proof that numbers don’t add up to anything. Senior citizens? What’s that? None around here. And there were no testosterone-charged young men to move 80 pound bags of concrete mix (although that would have helped), nor did anyone help them get the rocks up the hill to the building site. They did it all themselves with just a little help from me, and they celebrated their 50th wedding anniversary in 2008.

That said, to really cover all your bases, I think it would be a good idea to get some advice from a local masonry contractor. Simply visit a masonry supply store and inquire. From my experience, folks really want to help out. Have a photo of the type of oven you’re planning to build so the person you’re talking to can relate it to your project.
Tuesday, May 11, 2010
from Bread Earth and Fire (The Earth Oven)

searching for the perfect oven spot
Chapter 1
THE EARTH OVEN
to be continued
Subscribe to:
Posts (Atom)